Integration tests are an integral part of any modern web application, you’ll likely be running selenium tests. While Selenium tests are easy to write and execute on your local workstation. Now you’re stuck with two options like SaaS provider like SauceLabs and BrowserStack etc. or running your own Selenium Grid on multiple machines and managing a multitude of machines and browser versions. This is going to make you CI process with slow builds.
In this article, you’ll see how easy it is to set up a Selenium Grid with Docker, how easy it is to maintain, and how to extend and grow your Selenium grid to satisfy your team’s needs.
Challenges :
If you use Selenium Grid for running you test, You must have to install so many configurations and tools on each machine which your test depends on like Java, Selenium WebDriver, Test Browsers, VNC etc. Maintaining machines in grid are sometimes costly and time consuming to maintain.
Why Docker :
With containerized test executors, the test suites can be executed on any platforms without library dependencies. Selenium Grid is distributed system of nodes for running tests. Instead of running your grid across multiple virtual machines, using Docker we can run them all Test’s parallel and fast on a single large machine using Docker.
Selenium Grid Hub and Nodes in Docker :
To set up Selenium WebDriver Grid we need to download a couple of Selenium Images step by step:
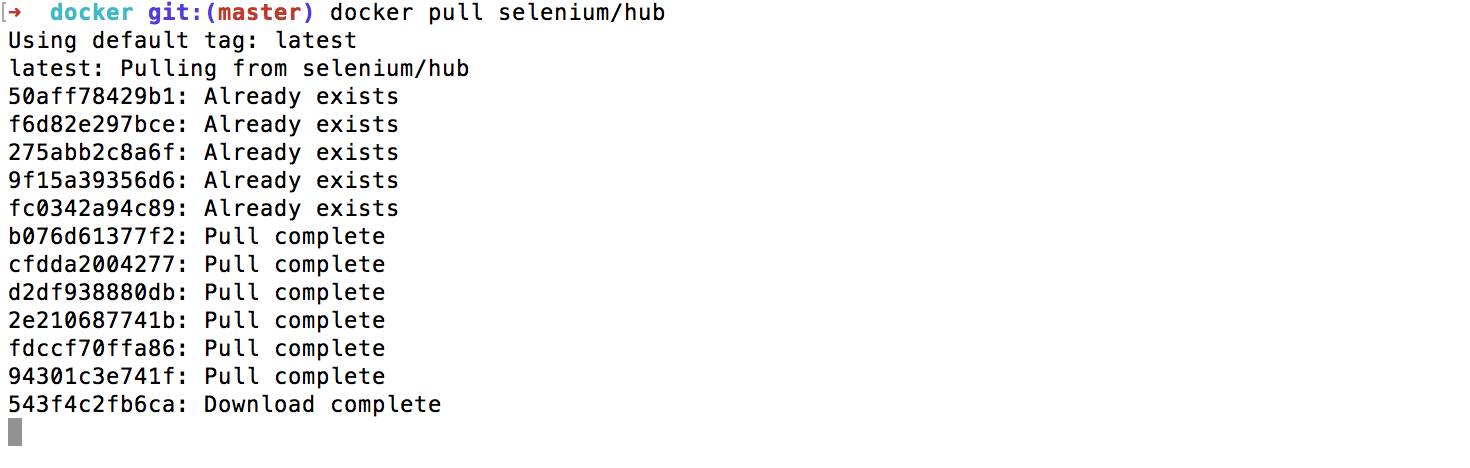
#Step 1: Download Selenium/hub
Use docker pull command to download the Selenium/hub
docker pull selenium/hub
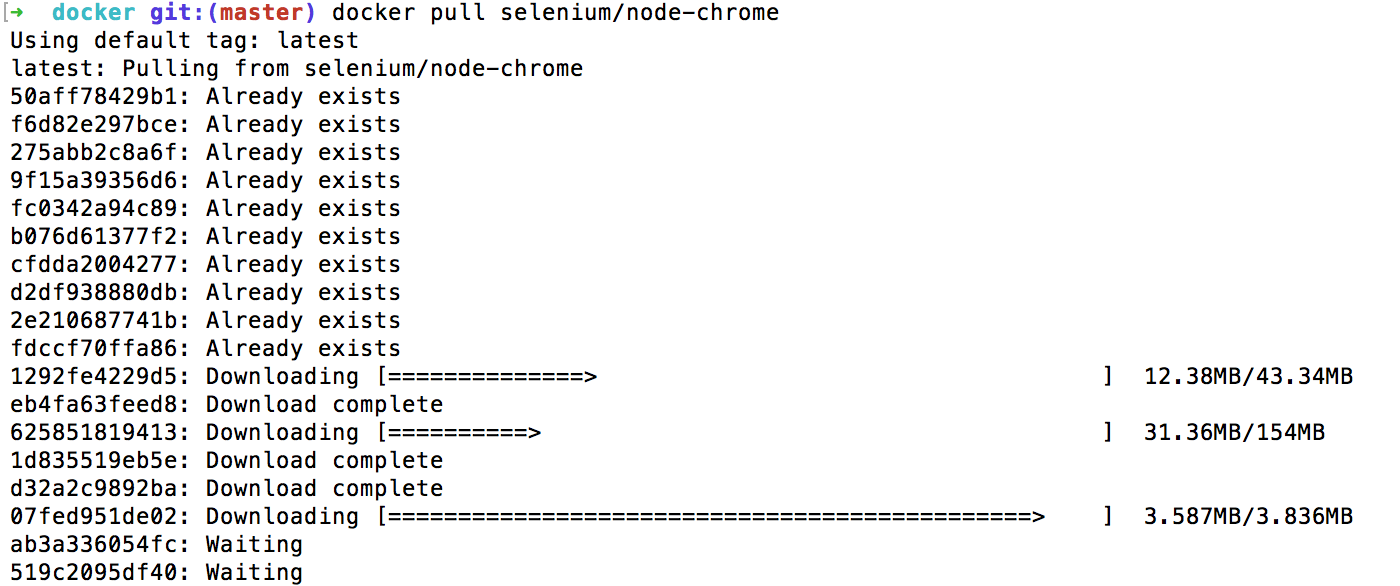
#Step 2: Download Selenium/node-chrome
Use docker pull command to download the Selenium/node-chrome, Chrome browser image.
docker pull selenium/node-chrome
#Step 3: Download Selenium/node-firefox
Same like above use docker pull command to download the Selenium/node-firefox, Firefox browser image.
docker pull selenium/node-firefox
#Step 4: Check Docker Image after Download
After downloading the images we can check the downloaded Images using the docker command and see all the images on the list.
docker images

#Step 5: Start Selenium Hub
As we have downloaded the images and we can now start the Selenium Hub. So the process is generally starting Hub first and then joining other nodes to the Hub.
docker run -d -p 4444:4444 -P --name selenium-hub selenium/hub
Run docker ps to check the container details

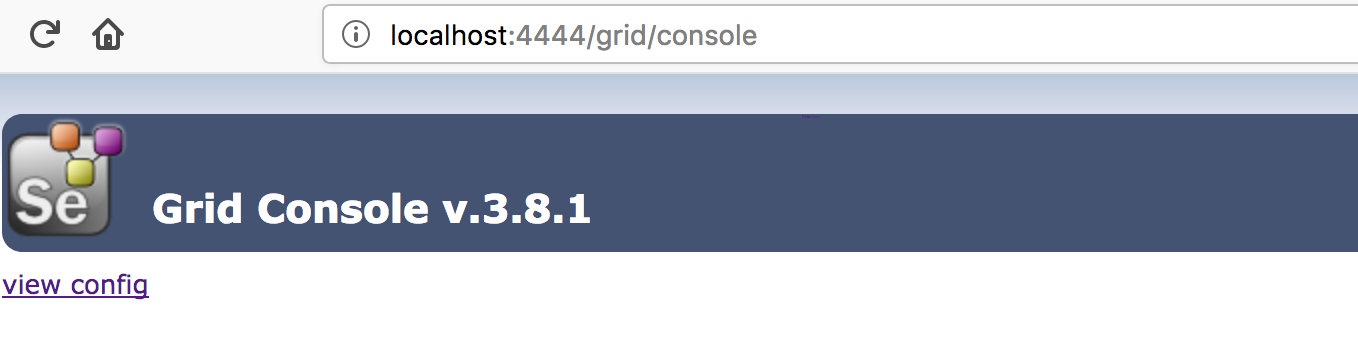
After that we can verify that selenium grid is running or not by navigating to the URL:
http://localhost:4444/grid/console
#Step 5: Start Selenium Node
As the Hub is started and listening on Port No:4444 we are ready to start nodes and connect with Selenium Hub.
Run Chrome Node and Link it to Hub:
docker run -d --link selenium-hub:hub -P --name chrome selenium/node-chrome
Run Firefox Node and Link it to Hub:
docker run -d --link selenium-hub:hub -P --name firefox selenium/node-firefox
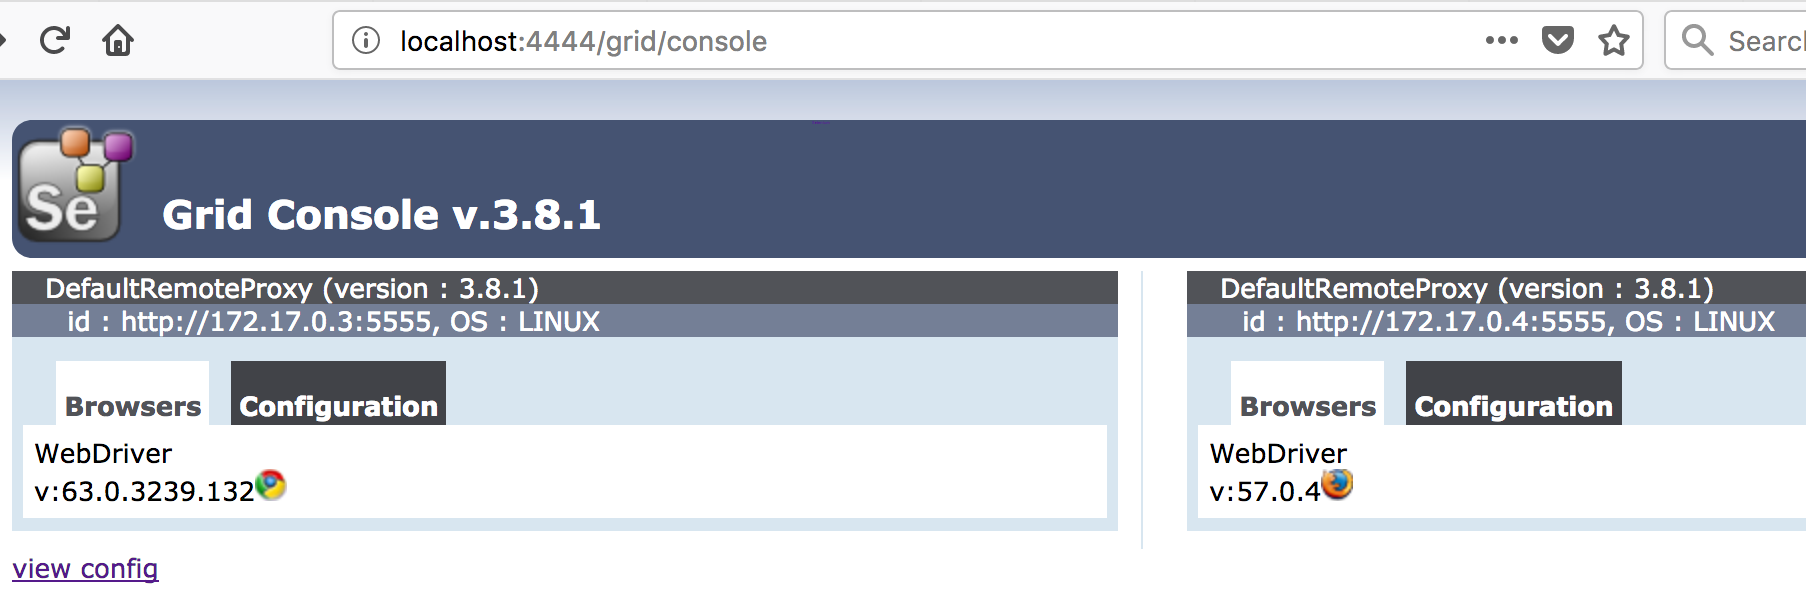
Verify Nodes in Browser Console:
http://localhost:4444/grid/console
#Step 6: Run Test on Chrome:
All our Test should be pointing to the URL: http://localhost:4444/wd/hub
As the Hub is running on port:4444, so we will direct all the test on this port and Hub will work as load balancing and redirecting the request to proper browser and node.
import java.net.URL;
import org.openqa.selenium.WebDriver;
import org.openqa.selenium.remote.DesiredCapabilities;
import org.openqa.selenium.remote.RemoteWebDriver;
import org.testng.annotations.Test;

public class RunningTestOnDocker {

    @Test
    public void runTestOnDocker() throws Exception {
        DesiredCapabilities dcap = DesiredCapabilities.chrome();
        String driverPath = System.getProperty("user.dir") + "/exe/chromedriver";
        System.setProperty("webdriver.chrome.driver", driverPath);

        // Hub Port at 4444
        URL gamelan = new URL("http://localhost:4444/wd/hub");
        WebDriver driver = new RemoteWebDriver(gamelan, dcap);
        // Get URL
        driver.get("https://www.google.com/");
        // Print Title
        System.out.println(driver.getTitle());
    }
}
Output:
Google
As we are using the Chrome Browser and running a simple Test which is to open Google.com and print the website title. You can also create a simple Test in Firefox and run the both Test parallel.
You can use the selenium/node-chrome-debug as a debug image because It is bundled with realVNC and you can see the Browser and test at run time. You can read articles about debugging container Images with realVNC here.
What Next:
In coming articles I will try to explain the use of docker-compose.yml file which is a docker configuration file and How to scale our docker Selenium Hub by simple one command. Next: How to Setup Selenium grid using docker-compose file.